Printable Salt and Pepper Chicken Recipe Card: Crunchy De…
There’s nothing quite like the satisfying crunch of crispy, savory chicken seasoned just right with salt and pepper. This dish is not only packed with flavor but is also loaded with protein—each serving boasts a hearty 350 calories, making it a fantastic choice for a quick meal that fuels your day. I created this recipe during one of those hectic weeks when my family needed something delicious yet simple to whip up after a long day. It quickly became a go-to in my kitchen because it brings together the best of both worlds: ease and taste.
I remember the first time I made this Salt and Pepper Chicken; it was a chilly Sunday evening, and my teenagers were sprawled on the couch after a long day of school activities. As the aroma filled our home, my youngest peeked into the kitchen and exclaimed, “Wow, what smells so good?” The secret twist? I used an air fryer to achieve that perfect crispiness without all the extra oil. By the time I served dinner, I could hardly keep up with their eager requests for seconds, and my husband even said it was better than takeout! This meal has become an instant family favorite, making it easy to see why you’ll want to grab the Printable Salt and Pepper Chicken Recipe Card for your own collection.
Gather These Ingredients
Each ingredient in this dish plays an essential role in flavor and texture. Here’s what you’ll need:
- 4 pieces chicken thighs (boneless and skinless): These provide a tender, juicy base that absorbs seasonings beautifully.
- 1 cup all-purpose flour: Creates a crispy coating that enhances the dish’s texture when fried.
- 2 teaspoons salt: Elevates the overall flavor, bringing out the natural taste of the chicken.
- 1 teaspoon black pepper: Adds a warm, spicy kick that complements the saltiness perfectly.
- 1 cup vegetable oil: Essential for frying, it ensures a golden-brown crust while keeping the chicken moist during cooking.
Step-by-Step Instructions
I recommend starting by mixing the flour, salt, and black pepper first — this way, you can quickly coat the chicken and get it ready for frying while the oil heats up.
Step 1: In a large bowl, mix together 1 cup of all-purpose flour, 2 teaspoons of salt, and 1 teaspoon of freshly ground black pepper. This combination not only gives your chicken a flavorful crust but also helps to create that crispy texture we all love. Whisk the ingredients until well combined to ensure even seasoning; you want every bite to be packed with flavor.
Step 2: Dredge each piece of boneless, skinless chicken thigh in the flour mixture, making sure they are fully coated. Press lightly to adhere the flour onto the surface, which will help create a nice crust when frying. I like to shake off any excess flour to avoid clumping in the oil, ensuring a cleaner fry and a more appealing presentation.
Step 3: Heat 1 cup of vegetable oil in a frying pan over medium-high heat until it reaches about 350°F (175°C). A good test for readiness is to sprinkle a pinch of flour into the oil; if it sizzles immediately, you’re set. Be careful not to let it smoke—this indicates it’s too hot and could lead to burnt chicken.
Step 4: Carefully add the coated chicken thighs to the hot oil in a single layer, ensuring they aren’t overcrowded; you might need to do this in batches depending on your pan size. This allows for even cooking and prevents steaming. Fry them for about 6-7 minutes on each side until they are golden brown and no longer pink inside; that beautiful color indicates they’re developing flavor.
Step 5: Use a meat thermometer to check that the internal temperature of the chicken reaches at least 165°F (75°C). This step is crucial for food safety and ensures your chicken is perfectly cooked through. If you see juices running clear when piercing the thickest part, that’s another great sign that they’re ready!
Step 6: Once cooked, remove the chicken from the pan using tongs or a slotted spoon and place them on paper towels to drain any excess oil. This will help keep them crispy rather than greasy. I usually let them sit for about a minute before garnishing so they can cool slightly without losing that crunch.
Step 7: Finally, garnish your crispy salt and pepper chicken with chopped green onions and toasted sesame seeds before serving. This adds not only a pop of color but also an extra layer of flavor that complements the dish beautifully. My family loves this finishing touch—it really elevates the meal!
What to Serve with Salt and Pepper Chicken
This bowl is already incredibly filling and balanced, but these sides add extra variety and nutrition to round out your meal perfectly.
Crispy Asian Slaw: A vibrant mix of shredded cabbage, carrots, and bell peppers tossed in a light sesame vinaigrette complements the crunchy texture of the chicken while adding a refreshing crunch. The slaw offers a boost of vitamins A and C, making it a great way to incorporate more veggies into your meal. My kids love the colorful presentation, and it’s an easy make-ahead option that keeps well for meal prep.
Garlic Rice: Fluffy rice sautéed with garlic and a sprinkle of green onions echoes the savory notes of the chicken while providing a comforting base for the dish. This side not only adds carbs for energy—approximately 40 grams per serving—but also helps soak up any extra seasoning. It’s become a staple in our household, especially on busy nights when I want something simple yet satisfying.
Avocado Salsa: Creamy avocado mixed with diced tomatoes, lime juice, and cilantro creates a zesty salsa that pairs beautifully with the salty, peppery chicken. This dish adds healthy fats to your meal, providing about 15 grams in a typical serving, which promotes satiety. It’s my go-to when I want to elevate weekday dinners; the kids love scooping it up with their chicken!
Roasted Sweet Potatoes: Cubes of sweet potatoes seasoned with olive oil, cinnamon, and a pinch of salt are roasted until caramelized and tender. Their natural sweetness provides a delightful contrast to the savory chicken while offering complex carbohydrates that keep you fueled—about 27 grams per serving. These are perfect for meal prepping; I often make a big batch at the beginning of the week for quick sides.
Sesame Noodles: Cold noodles tossed in soy sauce, sesame oil, and scallions create a flavorful dish that echoes the sesame seeds sprinkled on top of the chicken. The noodles provide around 7 grams of protein while giving your meal an Asian flair that complements every bite. This is always a hit in my family; we often prepare them ahead of time so everyone can grab them as they’re ready to eat!
Storage & Serving Tips
To store your Salt and Pepper Chicken properly for meal prep, place the cooked chicken thighs in an airtight container in the fridge where they will stay fresh for up to 4 days. For the best results, store the crispy chicken separately from any garnishes. Keep the chopped green onions and toasted sesame seeds in individual small containers to ensure they maintain their freshness and crunch, avoiding any sogginess.
When it comes to reheating, restore the chicken’s crispiness by placing it in a preheated oven at 400°F for about 8–10 minutes. This method revives that delectable crunch, unlike microwaving, which can make the chicken soft and disappointing. If you want to reheat the garnishes, simply sprinkle them on top just before serving; however, they are best added fresh to maintain their flavor and texture.
Pro tip: For efficient meal prep, consider doubling this recipe on your Sunday prep day and portioning the Salt and Pepper Chicken into individual containers for easy grab-and-go meals throughout the week. Family members can self-assemble their own bowls by adding a base of rice or quinoa alongside the chicken. For variety, try swapping out chicken thighs for boneless skinless chicken breasts or even tofu for a vegetarian option. To keep your garnishes at their best during storage, always add the chopped green onions and toasted sesame seeds fresh right before serving to enhance your dish with flavor and texture.
Conclusion
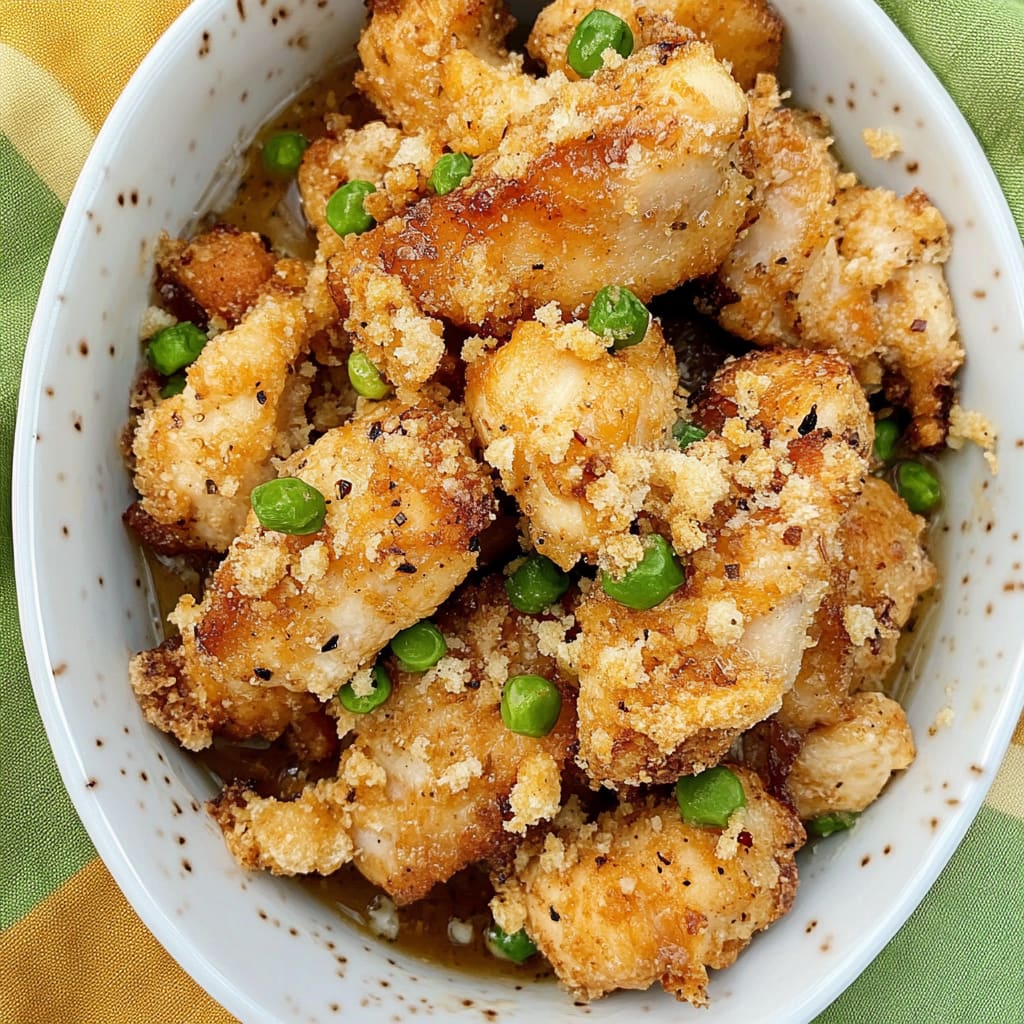
This Salt and Pepper Chicken has become one of those recipes I make at least twice a month because it’s genuinely easy, incredibly satisfying, and packs 350 calories per serving without feeling heavy. The secret to its standout flavor lies in the crispy coating that perfectly balances the seasoning of salt and freshly ground black pepper, elevating it above typical fried chicken dishes. Give this one a try this week. I promise it’ll become a regular rotation meal in your house too.
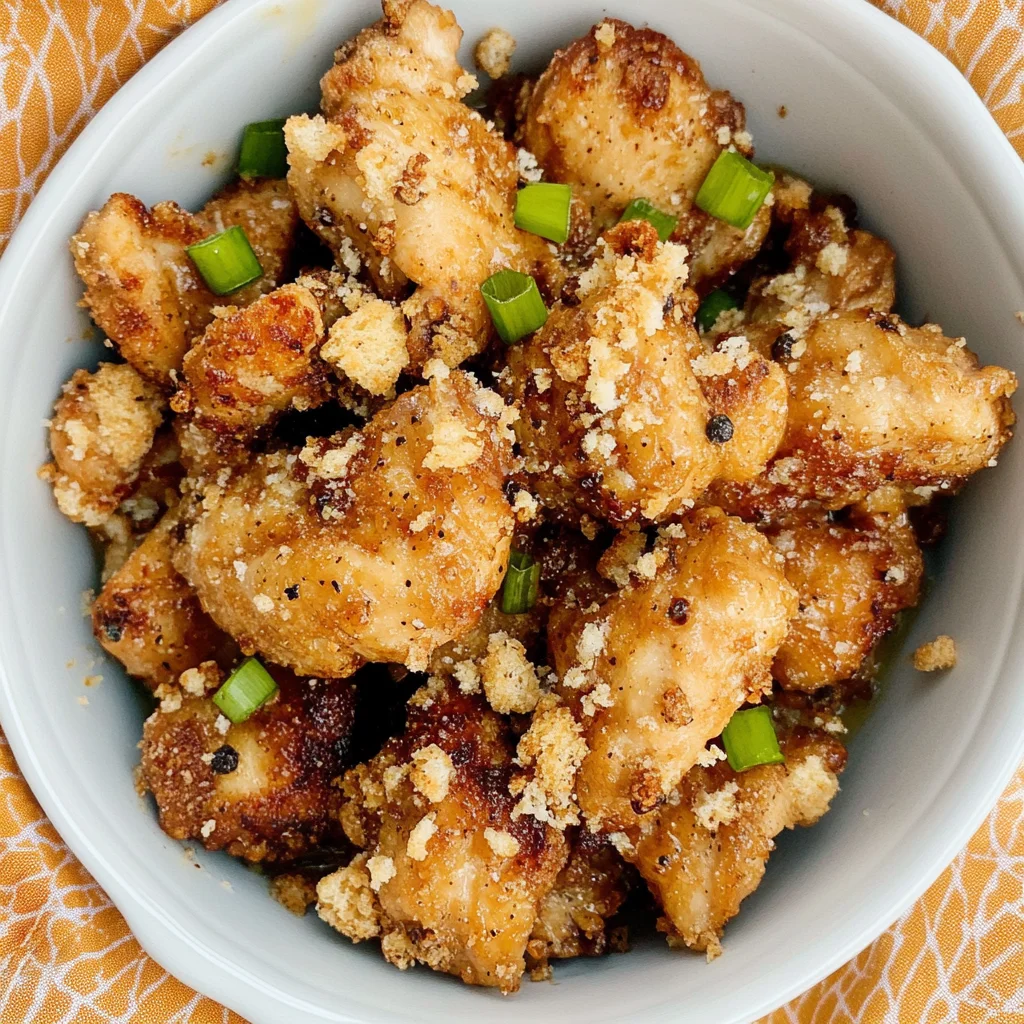
Salt and Pepper Chicken
Ingredients
Method
- In a large bowl, mix flour, salt, and black pepper.
- Dredge each chicken thigh in the flour mixture, ensuring they are fully coated.
- Heat vegetable oil in a frying pan over medium-high heat.
- Once the oil is hot, add the coated chicken thighs.
- Fry for about 6-7 minutes on each side or until golden brown and cooked through.
- Use a meat thermometer to ensure the internal temperature reaches 165°F (75°C).
- Remove the chicken from the pan and place on paper towels to drain excess oil.
- Garnish with chopped green onions and toasted sesame seeds before serving.