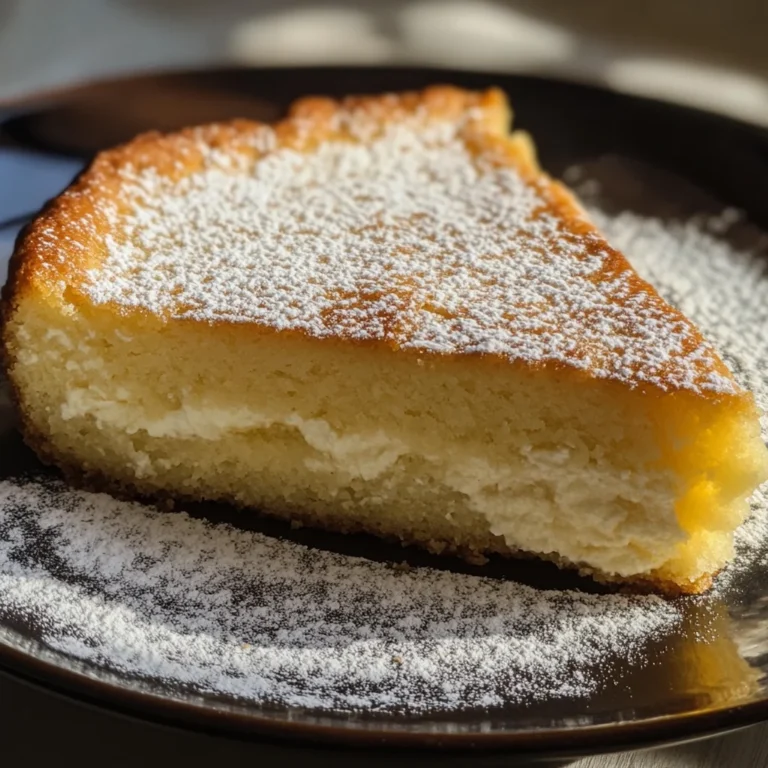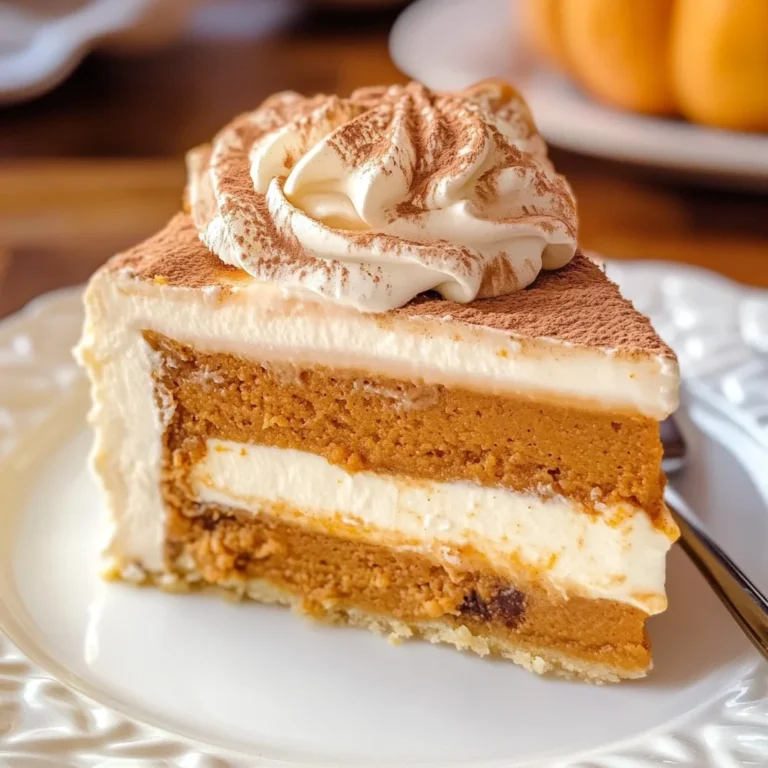
Decadent Hawaiian Guava Cake: A Slice of Paradise Awaits
There’s nothing quite like a slice of my Decadent Hawaiian Guava Cake: A Slice of Paradise to transport you straight to a sun-soaked beach! This moist and flavorful cake bursts with the tropical essence of guava, offering an irresistible experience that’s sweet, fruity, and utterly delightful. Infused with rich flavors and a tender crumb, it not only satisfies your sweet tooth but also packs in protein at around 350 calories per slice—perfect for those busy days when you need a nutritious treat. I created this recipe as a delicious solution for meal prep, wanting something that my family could enjoy throughout the week without sacrificing flavor or health.
I still remember the first time I made this cake for our weekend family gathering; the kitchen was filled with the aroma of baking guava, and my sister immediately exclaimed, “This smells just like paradise!” As we gathered around the table, I watched as my kids’ eyes lit up with each bite, their faces glowing with delight. The secret ingredient that sets this cake apart is the fresh guava puree, which brings an unexpected twist to traditional dessert recipes. By the end of dinner, my youngest was asking for seconds while my husband declared it his new favorite treat—music to my ears and proof that this cake is truly a hit in our home!
Ingredients for the Decadent Hawaiian Guava Cake: A Slice of Paradise
Each ingredient in this dish plays an essential role in flavor and texture. Here’s what you’ll need:
- 2 cups all-purpose flour: Provides the structure and base for the cake.
- 1 cup granulated sugar: Sweetens the cake and enhances its moistness.
- 1 cup mashed ripe guava (fresh or canned): Infuses the cake with a tropical, fruity flavor.
- 1/2 cup unsalted butter (softened): Adds richness and moisture to the batter.
- 3 large eggs: Binds the ingredients together while contributing to the cake’s tenderness.
- 1 teaspoon vanilla extract: Enhances the overall sweetness and depth of flavor.
- 1 teaspoon baking powder: Acts as a leavening agent for a light, airy texture.
- 1/2 teaspoon baking soda: Helps with rising and contributes to a tender crumb.
- 1/4 teaspoon salt: Balances sweetness and intensifies all other flavors.
Step-by-Step Instructions
I recommend starting by preheating your oven to 350°F (175°C) and greasing and flouring a 9-inch round cake pan — this way, your cake pan is ready when the batter is mixed, ensuring everything flows smoothly. Begin by preheating the oven and then generously grease and flour the cake pan to prevent sticking. This initial step is crucial as it sets the stage for a perfectly baked cake.
Step 1: Preheat your oven to 350°F (175°C). Grease and flour a 9-inch round cake pan. This will ensure that your cake releases easily after baking. A well-prepped pan makes a world of difference, especially for moist cakes like this one.
Step 2: In a mixing bowl, cream together the softened butter and granulated sugar until light and fluffy. Use a hand mixer or stand mixer for best results, as this step is essential for incorporating air into the batter, which helps create a light texture. I usually mix on medium speed for about 3-4 minutes until it’s pale and fluffy.
Step 3: Add the eggs one at a time, mixing well after each addition. Stir in the vanilla extract and guava puree until fully combined. The key here is to ensure each egg is well incorporated before adding the next; this helps maintain that fluffy texture we built earlier. The guava adds not only moisture but also a beautiful tropical flavor that will shine through in every bite.
Step 4: In another bowl, whisk together the flour, baking powder, baking soda, and salt. Whisking these dry ingredients separately helps ensure even distribution of the leavening agents throughout your batter. This step builds serious flavor, so don’t rush it; you want everything to blend seamlessly.
Step 5: Gradually add the dry ingredients to the wet mixture, mixing until just combined. Be careful not to overmix here — you’re looking for a few lumps rather than a perfectly smooth batter to keep your cake tender. I find that folding with a spatula works well at this stage to avoid overworking the gluten in the flour.
Step 6: Pour the batter into the prepared cake pan and smooth the top with a spatula. Make sure to spread it evenly so it bakes uniformly; nobody wants an unevenly risen cake! Using an offset spatula can help achieve that smooth top effortlessly.
Step 7: Bake in the preheated oven for 30 minutes or until a toothpick inserted in the center comes out clean. Keep an eye on it during baking; ovens can vary slightly in temperature. You’re looking for golden edges and a springy top — when you lightly press it, it should bounce back without leaving an indentation.
Step 8: Allow the cake to cool in the pan for 10 minutes before transferring it to a wire rack to cool completely. This cooling process allows steam to escape and prevents sogginess on the bottom of your cake, which is crucial for achieving that perfect texture before frosting.
Step 9: In a mixing bowl, beat together the softened cream cheese and butter until smooth. Using room temperature ingredients makes this step easier; I suggest using an electric mixer on medium speed to achieve that creamy consistency without any lumps — trust me, it’s worth it!
Step 10: Gradually add the powdered sugar and mix until well combined. Start at low speed to avoid a sugar cloud in your kitchen! Once combined, increase speed to ensure everything is incorporated smoothly; you want that ideal frosting consistency that’s spreadable yet holds its shape.
Step 11: Stir in the vanilla extract and guava puree until smooth and creamy. The guava puree not only enhances flavor but also gives your frosting that lovely tropical hue — it’s all about those little touches!
Step 12: Once the cake is completely cool, spread the guava frosting evenly over the top and sides of the cake using an offset spatula or frosting knife for an even coat. Take your time with this step; I like to create swirls or peaks for visual appeal while ensuring every bite has that delicious frosting.
Step 13: Slice and serve, enjoying a taste of paradise! Don’t forget to savor each bite; this decadent Hawaiian guava cake is sure to impress!
What to Serve with Decadent Hawaiian Guava Cake: A Slice of Paradise
This cake is already incredibly filling and balanced, but these sides add extra variety and nutrition to round out your meal perfectly.
Tropical Quinoa Salad: This vibrant salad features fluffy quinoa, diced mango, bell peppers, and a zesty lime vinaigrette that brings a refreshing contrast to the sweet guava cake. The nutty flavor of quinoa adds a nice texture while providing about 8 grams of protein per serving, making it an excellent choice for those looking to increase their macro intake. It’s a favorite at our family gatherings, adding that tropical vibe we all love.
Coconut Rice: Creamy coconut rice, made by simmering jasmine rice with coconut milk and a dash of salt, creates a rich and velvety side that complements the tropical notes of the guava cake beautifully. The sweetness from the coconut echoes the cake’s flavors while providing a satisfying carbohydrate boost—perfect for post-workout recovery. My kids always ask for this rice when they know we’re having dessert!
Avocado and Tomato Salad: A simple yet delicious combination of ripe avocados, juicy tomatoes, red onion, and fresh cilantro dressed in lime juice brings healthy fats and vitamins to the table. The creaminess of the avocado contrasts nicely with the cake’s sweetness, while adding heart-healthy omega-3s. This salad often graces our dinner table whenever we enjoy something sweet as it provides a light balance to richer dishes.
Guava Salsa: Made with diced guava, red onion, jalapeño, and cilantro tossed in lime juice, this salsa echoes the guava flavors in the cake while offering a spicy kick. It’s great served alongside tortilla chips or as a topping for grilled chicken; plus, it’s packed with vitamins C and A. I love making this salsa as part of our meal prep—it’s versatile enough to enjoy throughout the week!
Storage & Serving Tips
To store your Decadent Hawaiian Guava Cake, place it in an airtight container in the fridge for up to 5 days. If you prefer to keep the cake moist and flavorful, it’s best to store the cake and frosting separately. Use one container for the cake made from 2 cups of all-purpose flour, 1 cup of granulated sugar, 1 cup of mashed ripe guava, 1/2 cup softened unsalted butter, 3 large eggs, 1 teaspoon vanilla extract, 1 teaspoon baking powder, 1/2 teaspoon baking soda, and 1/4 teaspoon salt. For the frosting, combine the 1 cup of softened cream cheese, 1/2 cup softened unsalted butter, 3 cups powdered sugar, 1 teaspoon vanilla extract, and 2 tablespoons guava puree in another airtight container.
When reheating your cake, preheat your oven to 350°F and place a slice on a baking sheet for about 10 minutes until warmed through. Avoid microwaving the cake as it tends to make it soggy and disappointing. If you need to reheat the frosting, do so gently in a mixing bowl over warm water or give it a quick spin in the microwave for about 15 seconds – just enough to soften without melting. Always check that both components are hot before serving.
Pro tip: To make meal prep easy for the week, consider doubling the recipe on Sunday and portioning it into containers so everyone can grab their slice of paradise whenever they want. Family members can self-assemble their own bowls by adding fresh fruit or nuts as toppings. For variety throughout the week, swap out mashed guava with other purees like mango or passion fruit and use Greek yogurt instead of cream cheese in the frosting for a lighter option. To keep your frosting at its best during storage, make sure it’s sealed properly to prevent it from absorbing odors from other foods in the fridge.
Conclusion

This Decadent Hawaiian Guava Cake: A Slice of Paradise has become one of those recipes I make at least twice a month because it’s genuinely moist, bursting with flavor, and contains 350 calories per slice without compromising on taste. The fresh guava truly sets this cake apart from other desserts, giving it that tropical twist that’s sure to impress anyone who takes a bite. Give this one a try this week. I promise it’ll become a regular rotation dessert in your house too.