Texas Chili Recipe
If you’re looking for a hearty and satisfying meal that warms you up from the inside out, look no further than this Texas chili recipe. It’s rich, meaty, and packed with flavor—just the way a true chili should be! Perfect for cozy family dinners, game day gatherings, or even busy weeknights when you want something comforting, this chili has become a staple in my kitchen. I love how it brings people together around the table, each bite bursting with deliciousness!
Why You’ll Love This Recipe
- Easy to Make: This Texas chili recipe comes together easily with just a few simple steps. You’ll feel like a kitchen pro in no time!
- Family-Friendly: The rich flavors appeal to both adults and kids alike. It’s a dish everyone can enjoy.
- Make Ahead: It’s even better the next day! Make it in advance and let the flavors develop overnight for an even tastier meal.
- Customizable Heat: Whether you like it mild or spicy, you can adjust the heat level to suit your family’s tastes.
Ingredients You’ll Need
Let’s dive into the ingredients! You’ll find that they are simple and wholesome, making this Texas chili recipe not only delicious but also easy to prepare.
For the Chili Paste
- 3 ancho peppers
- 3 pasilla peppers
- 3 New Mexican dried peppers
For the Chili
- 2.5 pounds beef chuck (cut into bite-sized cubes)
- 2 teaspoons cumin
- Salt and pepper to taste
- 2 tablespoons olive oil
- 1 medium white onion (chopped)
- 3 jalapeno peppers (chopped)
- 2 serrano peppers (chopped, optional for extra heat)
- 4 cloves garlic (chopped)
- 2 cups beef stock (or use a dark beef broth)
- 2.5 cups water (+ more as needed)
- 2 tablespoons masa harina (corn flour, for thickening if desired)
- 1 tablespoon brown sugar
- 1 tablespoon Worcestershire sauce
Variations
This Texas chili recipe is wonderfully flexible! Feel free to make it your own with these fun variations:
- Swap the protein: Use ground turkey or chicken instead of beef for a lighter option.
- Add vegetables: Toss in some bell peppers or corn for extra flavor and texture.
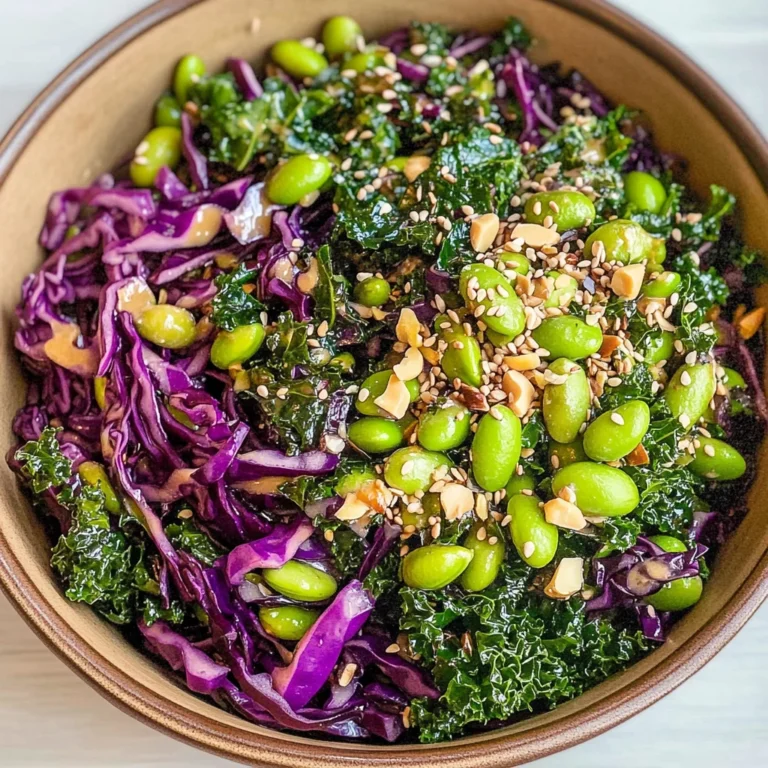
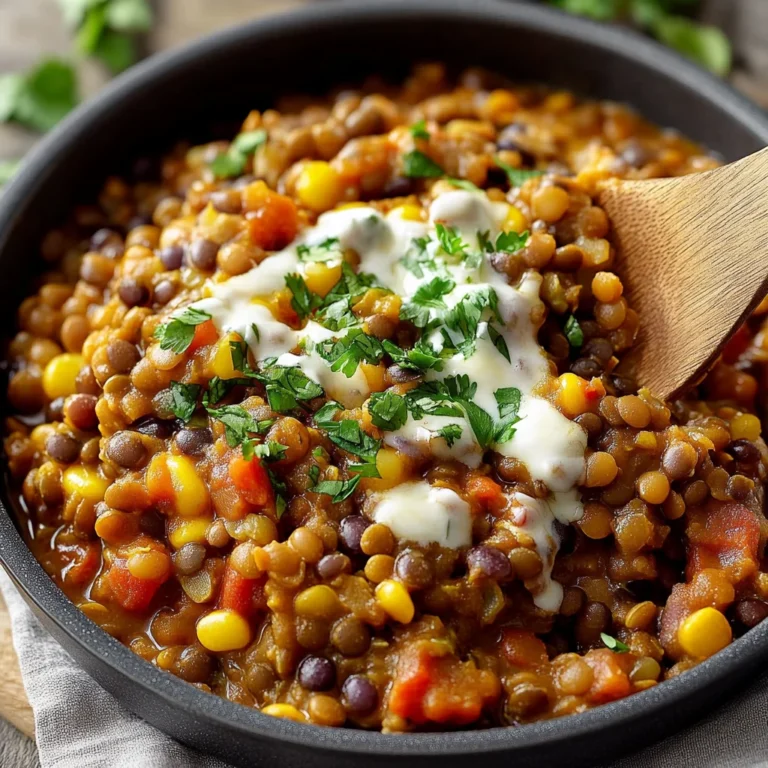
- Go vegetarian: Substitute beef with black beans or lentils for a hearty meatless version.
- Change up the spices: Experiment with different spices like smoked paprika or cayenne pepper to give it your unique twist.
How to Make Texas Chili Recipe
Step 1: Prepare the Chili Paste
Start your chili paste first by lightly toasting the dried peppers in a dry pan for about a minute or two on each side. Toasting them helps release their natural oils and enhances their flavor. Once they’re done, remove from heat and cool enough to handle before removing stems and seeds.
Step 2: Soak the Peppers
Soak those toasted peppers in hot water for about 20 minutes or until they’re nice and soft. This step is crucial because it rehydrates the peppers, making them easier to blend into a smooth paste later.
Step 3: Blend the Chili Paste
Add the soaked peppers to a food processor with about ½ to 1 cup of soaking water along with a bit of salt to taste. Process until you achieve a nice smooth paste. Set this aside; it’s going to add so much flavor to your chili!
Step 4: Season the Beef
In a large bowl, toss cubed beef chuck with cumin and some salt and pepper until everything is nicely coated. This seasoning will help infuse flavor into your meat as it cooks.
Step 5: Sear the Beef
Heat one tablespoon of olive oil in a large pot over medium-high heat. Add your seasoned beef and cook for 6-7 minutes until it’s well-seared on all sides. This step locks in juices and adds depth of flavor—the foundation of your chili!
Step 6: Cook the Veggies
Remove the cooked beef from the pot and set aside. Add remaining olive oil along with chopped jalapenos, serranos, and onion into that same pot. Cook down these veggies for about five minutes until they soften up beautifully.
Step 7: Add Garlic
Toss in chopped garlic and stir everything together for another minute. The aroma will be irresistible! Garlic adds such richness; don’t skip this step!
Step 8: Combine Everything
Return that delicious seared beef back into the pot along with your reserved chili paste. Stir well and let it cook for about 2-3 minutes so those wonderful flavors meld together.
Step 9: Add Liquids & Seasonings
Stir in your beef stock (or broth), add two cups of water, brown sugar, Worcestershire sauce, and masa harina if you’re using it for thickening purposes. Bring this mix to a quick boil—this is where all those flavors start coming together!
Step 10: Simmer Away!
Reduce heat, cover, and let simmer for about two hours—or longer if using tougher cuts of meat—until everything is tender and flavorful. Don’t forget to give it a stir every thirty minutes! If it gets too thick, just add in more water.
Step 11: Serve & Enjoy!
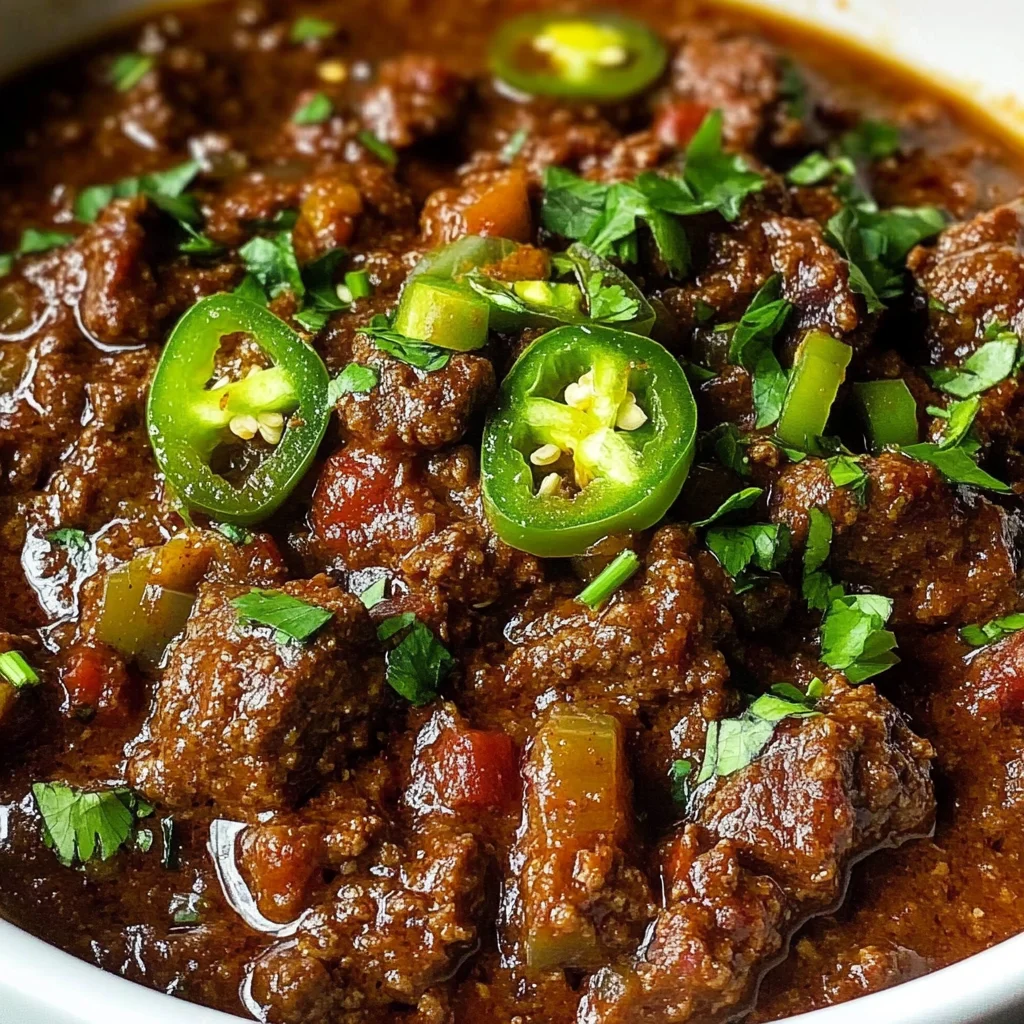
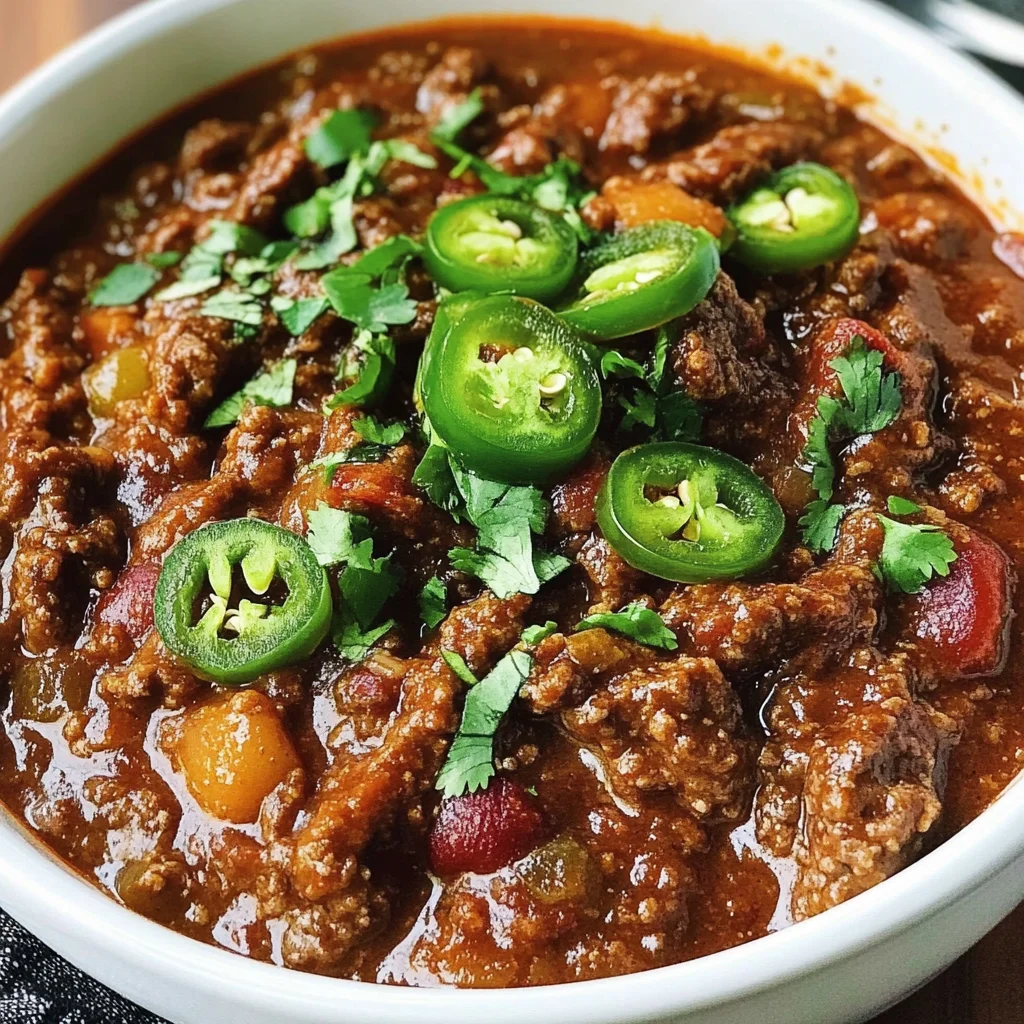
Once it’s done cooking, serve your Texas chili hot with all your favorite fixings like shredded cheese or fresh cilantro! Enjoy every hearty bite!
This Texas chili recipe truly captures comfort food at its best!
Pro Tips for Making Texas Chili Recipe
Making a delicious Texas chili is all about the details and techniques. Here are some tips to ensure your chili turns out perfect every time!
-
Choose your peppers wisely: Different dried peppers bring unique flavors and heat levels. A mix of ancho, pasilla, and New Mexican peppers creates a complex depth of flavor that will elevate your chili.
-
Don’t rush the beef: Searing the beef properly is key to developing rich flavors. Taking the time to brown the meat creates a wonderful crust that enhances the overall taste of your chili.
-
Adjust the heat: If you prefer a milder chili, feel free to use more jalapenos instead of serrano peppers. This way, you can customize the spice level to suit your palate.
-
Let it simmer: Allowing your chili to simmer for at least two hours ensures that the flavors meld beautifully. The longer it cooks, the more tender the beef will become, making each bite melt in your mouth.
-
Taste and adjust: Always taste your chili before serving! If it needs a little kick, add more spices or adjust with salt and pepper. A well-balanced flavor is essential for an unforgettable dish.
How to Serve Texas Chili Recipe
Serving your Texas chili can be just as fun as preparing it! Here are some ideas on how to present this hearty dish.
Garnishes
- Fresh cilantro: A sprinkle of chopped cilantro adds a burst of freshness that complements the rich flavors of the chili.
- Sour cream or yogurt: A dollop of sour cream or a plant-based yogurt provides a creamy contrast that helps tone down the heat.
- Shredded cheese: While traditional Texan recipes often include cheese, feel free to use a dairy-free option if desired!
Side Dishes
- Cornbread: This classic pairing is perfect for soaking up all that delicious chili. Its slightly sweet flavor balances out the spiciness beautifully.
- Rice: Serve your Texas chili over fluffy rice for a comforting meal. Brown rice or quinoa are great options that add extra nutrition.
- Tortilla chips: Crunchy tortilla chips make for an excellent side or topping, adding texture and a delightful crunch to each spoonful.
- Pickled jalapenos: For those who enjoy an extra kick, pickled jalapenos offer tangy heat that enhances every bite of chili.
With these tips and serving suggestions, you’re ready to create an unforgettable Texas chili experience! Enjoy every savory bite!
Make Ahead and Storage
This Texas chili recipe is perfect for meal prep! Not only does it taste even better the next day, but it also stores beautifully, offering you the convenience of a hearty meal ready whenever hunger strikes.
Storing Leftovers
- Allow the chili to cool completely before transferring it to an airtight container.
- Store in the refrigerator for up to 4 days.
- If you plan to eat it within a few days, consider portioning it into single servings for easy access.
Freezing
- Let the chili cool fully, then place it in freezer-safe containers or heavy-duty freezer bags.
- Label the containers with the date and contents.
- Freeze for up to 3 months for optimal flavor and texture.
Reheating
- Thaw frozen chili overnight in the refrigerator before reheating.
- Reheat on the stovetop over medium heat, stirring occasionally until warmed through. Add a splash of water if it’s too thick.
- Alternatively, use a microwave-safe bowl and heat in short intervals, stirring between each until hot.
FAQs
Here are some common questions about this delicious Texas chili recipe:
Can I make Texas Chili recipe without beef?
Absolutely! You can substitute beef with plant-based meat alternatives or beans if desired. Just adjust cooking times accordingly.
What makes this Texas Chili recipe authentic?
This Texas chili recipe is authentic due to its focus on quality dried peppers and spices, creating rich flavors without beans or fillers that often stray from tradition.
How can I spice up my Texas Chili recipe?
You can increase the heat by adding more jalapenos or serrano peppers, or even incorporate a pinch of cayenne pepper for an extra kick!
Is this Texas Chili recipe suitable for meal prep?
Yes! This Texas chili is excellent for meal prep as it stores well and tastes amazing after sitting in the fridge for a day or two.
What can I serve with this Texas Chili recipe?
This chili pairs perfectly with cornbread, tortilla chips, or a simple side salad for a complete meal!
Final Thoughts
I hope you find joy in making this Texas chili recipe! It’s not just about satisfying your hunger; it’s about sharing warmth and comfort through food. Whether you’re hosting friends or enjoying a cozy night in, this chili is sure to impress. Enjoy every bite and don’t forget to share your experience!
Texas Chili

If you’re craving a hearty and soul-warming meal, this Texas Chili Recipe is the answer. Bursting with robust flavors and rich spices, it’s a dish that brings comfort on chilly evenings or lively gatherings. This chili features tender beef chuck simmered to perfection with an array of vibrant peppers and spices, creating a delightful depth of flavor. Plus, it’s easily customizable to suit your family’s preferences, whether you prefer it mild or spicy. Perfect for meal prep, this chili tastes even better the next day as the flavors meld beautifully. Gather around the table and share this deliciously satisfying dish that everyone will love!
- Prep Time: 30 minutes
- Cook Time: 120 minutes
- Total Time: 2 hours 30 minutes
- Yield: Serves approximately six people 1x
- Category: Main
- Method: Simmering
- Cuisine: Tex-Mex
Ingredients
- 3 ancho peppers
- 3 pasilla peppers
- 3 New Mexican dried peppers
- 2.5 pounds beef chuck (cut into bite-sized cubes)
- 2 teaspoons cumin
- Salt and pepper to taste
- 2 tablespoons olive oil
- 1 medium white onion (chopped)
- 3 jalapeno peppers (chopped)
- 4 cloves garlic (chopped)
- 2 cups beef stock
- 2.5 cups water
- 1 tablespoon brown sugar
Instructions
- Toast dried peppers in a dry pan for about two minutes per side; cool and remove stems/seeds.
- Soak toasted peppers in hot water for 20 minutes until soft.
- Blend soaked peppers with soaking water and salt until smooth; set aside.
- Toss cubed beef with cumin, salt, and pepper until coated.
- Heat olive oil in a large pot over medium-high heat; sear beef for about 6-7 minutes until browned.
- Remove beef; add chopped onion and jalapenos to the pot and cook for five minutes.
- Stir in chopped garlic; cook for another minute.
- Return seared beef and chili paste to the pot; cook for another 2-3 minutes.
- Add beef stock, water, brown sugar, and stir well; bring to a boil.
- Reduce heat to low, cover, and simmer for at least two hours.
Nutrition
- Serving Size: 1 cup (240g)
- Calories: 380
- Sugar: 4g
- Sodium: 850mg
- Fat: 21g
- Saturated Fat: 8g
- Unsaturated Fat: 11g
- Trans Fat: 0g
- Carbohydrates: 15g
- Fiber: 3g
- Protein: 38g
- Cholesterol: 100mg