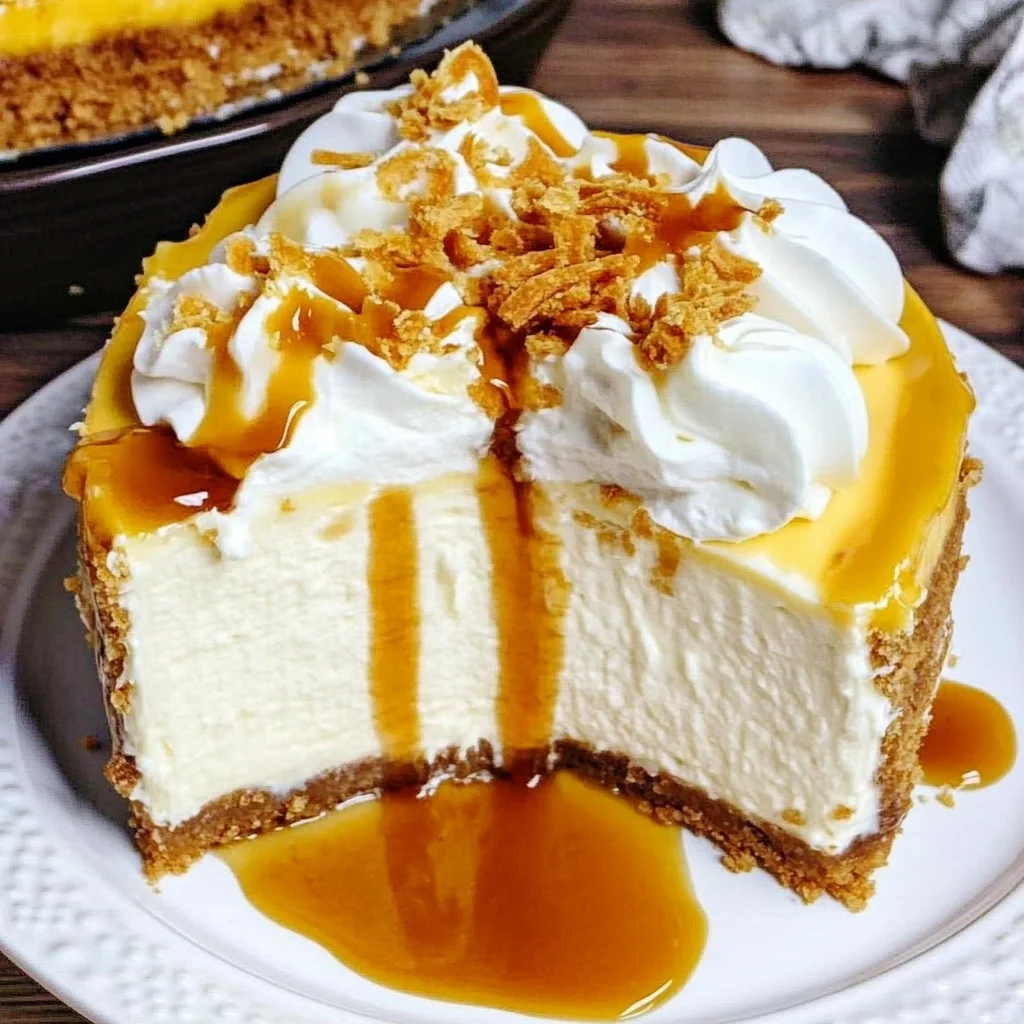
Butterbeer cheesecake: Indulgent Flavor Explosion!
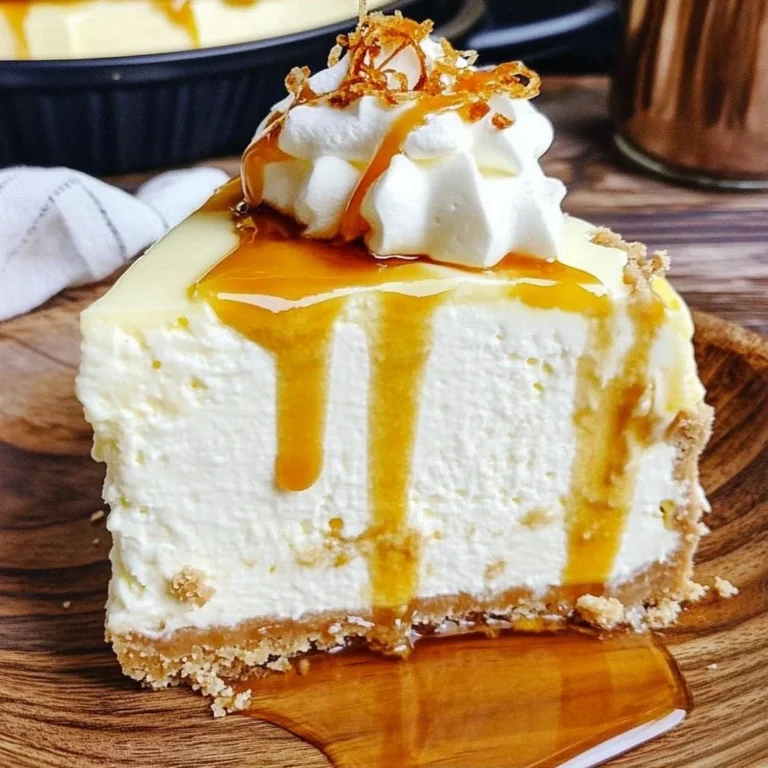
Imagine sinking your fork into a slice of Butterbeer cheesecake, where the creamy butterscotch filling meets a buttery graham cracker crust, creating an explosion of flavor that’s both indulgent and nostalgic. It’s rich, decadent, sweet, and loaded with 450 calories of pure delight—perfect for satisfying those dessert cravings without skimping on taste. I whipped up this recipe during a particularly hectic week when my family needed a comforting treat to brighten our evenings. The best part? It packs a punch of protein while still feeling like a treat.
I remember the first time I made this Butterbeer cheesecake—it was a chilly autumn evening, and my teenagers were sprawled out on the couch, wrapped in blankets after a long day at school. As the cheesecake cooled, I could already hear their excited whispers about what dessert might be in store. When I finally served it up, my youngest took one bite and exclaimed, “This is even better than the Butterbeer at Diagon Alley!” It was that unique touch of butterscotch that set my version apart from other cheesecakes. To my delight, they all went back for seconds, with my daughter declaring it the new family favorite.
Ingredients for the Butterbeer Cheesecake
Each ingredient in this dish plays an essential role in flavor and texture. Here’s what you’ll need:
1 cup graham cracker crumbs: Provides a sweet and crunchy base for the cheesecake.
1/4 cup granulated sugar: Sweetens the crust and enhances its flavor.
1/2 cup unsalted butter (melted): Binds the crust together while adding richness.
16 oz cream cheese (softened): Creates a creamy and smooth filling that’s essential for cheesecake.
1/2 cup granulated sugar: Balances the flavors and adds sweetness to the filling.
1/4 cup brown sugar: Introduces a hint of caramel flavor that complements the butterscotch.
1/4 cup butterscotch sauce: Infuses the filling with rich, buttery sweetness reminiscent of Butterbeer.
1 teaspoon vanilla extract: Enhances the overall flavor profile with warm, aromatic notes.
2 large eggs: Provides structure and stability to the cheesecake as it bakes.
1/2 cup heavy cream: Adds a luscious texture and creaminess to the filling.
1/4 cup whipped cream: Lightens up the dessert with airy texture on top.
2 tablespoons butterscotch sauce (for drizzling): Finishes off the cheesecake with extra sweetness and visual appeal.
Step-by-Step Instructions
I recommend starting by preheating your oven to 350°F (175°C) because you’ll want it ready for the crust as soon as you’ve mixed it. In a mixing bowl, combine 1 cup of graham cracker crumbs with 1/4 cup of granulated sugar and 1/2 cup of melted unsalted butter. Mix these ingredients until they are well combined, creating a sandy texture. This mixture should hold together when pressed, so make sure it’s not too dry. Once mixed, press the crumb mixture firmly into the bottom of a 9-inch springform pan to form an even layer. Bake this crust for 10 minutes, just until it’s lightly golden, then remove it from the oven and let it cool while you prepare the filling.
Step 2: In a large mixing bowl, take your softened 16 oz cream cheese and beat it with an electric mixer on medium speed until it’s super smooth and creamy—this is crucial for a silky cheesecake texture. Next, add in both 1/2 cup granulated sugar, 1/4 cup brown sugar, and 1/4 cup butterscotch sauce along with 1 teaspoon vanilla extract. Continue mixing until everything is fully incorporated; the sugars should dissolve completely into the cream cheese. I find that using room temperature cream cheese helps achieve that smooth consistency more easily, so don’t skip this step!
Step 3: Now it’s time to add your eggs—add them one at a time to ensure they mix in thoroughly without overworking the batter. After each addition, mix well before adding the next egg; this helps maintain a creamy texture. Once all two large eggs are added and mixed in, pour in 1/2 cup of heavy cream and blend until everything is smooth again. This step creates that rich texture you expect from a cheesecake, so take your time here for the best results.
Step 4: Carefully pour the creamy filling over your cooled crust in the springform pan. Spread it out evenly using a spatula if needed; this will help ensure even baking. Bake the cheesecake in your preheated oven for about 50 minutes until the center feels set but still has a slight jiggle—it will firm up as it cools. After baking, turn off your oven but leave the cheesecake inside for an hour; this gentle cooling process helps prevent cracks on top.
Step 5: Once that hour is up, remove the cheesecake from the oven and allow it to cool to room temperature on your counter—this can take about an hour or so. Be patient! It’s tempting to rush things, but letting it cool gradually helps keep that perfect texture intact. After reaching room temperature, refrigerate the cheesecake for at least four hours or preferably overnight; this chilling step is essential as it allows flavors to meld beautifully.
Step 6: When you’re ready to serve your Butterbeer Cheesecake, top each slice with a generous dollop of whipped cream and drizzle with additional butterscotch sauce for that extra touch of sweetness and presentation flair. My family loves seeing those warm caramel notes on top—it really ties everything together! Enjoy every bite of this delicious treat!
What to Serve with Butterbeer Cheesecake
This dish is already incredibly filling and balanced, but these sides add extra variety and nutrition to round out your meal perfectly.
Apple Walnut Salad: This refreshing salad features crisp apples, crunchy walnuts, mixed greens, and a light vinaigrette that brightens up the plate. The sweet and slightly tart apples provide a nice contrast to the rich butterscotch flavors of the cheesecake while the walnuts add healthy fats and protein—about 3-4 grams per serving. It’s a family favorite during our fall gatherings and gives a lovely crunch that complements the creamy texture of the cheesecake.
Cinnamon-Spiced Quinoa: Cooked quinoa tossed with cinnamon, honey, and a sprinkle of nuts makes for a hearty side that brings both warmth and a nutty flavor. This dish echoes the sweet notes of the cheesecake while providing approximately 8 grams of protein per cup, making it an excellent choice for those looking to boost their macros. My kids enjoy it as a breakfast option too, which makes meal prep easier!
Buttered Garlic Green Beans: Sautéed green beans tossed with garlic and butter create a simple yet flavorful side that adds a fresh element to your dessert spread. Their crisp-tender texture contrasts beautifully with the creamy cheesecake, while garlic provides an aromatic depth that balances sweetness. Plus, they are low in calories—around 40 calories per serving—allowing you to enjoy them guilt-free alongside your indulgent cheesecake.
Brown Sugar Roasted Sweet Potatoes: Cubes of sweet potatoes roasted with brown sugar create a caramelized exterior that mirrors the butterscotch in the cheesecake. This side dish provides about 2 grams of protein per serving along with fiber and vitamins A and C, making them nutritious companions. I often make these as part of our Sunday meal prep since they reheat well throughout the week!
Storage & Serving Tips
To store your Butterbeer Cheesecake for meal prep, place it in an airtight container in the refrigerator for up to 5 days. For optimal freshness, keep the crust and filling components separate: store the graham cracker crust combined with sugar and melted butter in one container, and place the cheesecake filling in another container. If you have leftover whipped cream and butterscotch sauce for drizzling, store those in small containers to maintain their texture and prevent them from becoming soggy.
When it comes to reheating, the cheesecake itself is best served chilled, so there’s no need to reheat it. If you’re serving leftovers, simply take them out of the fridge and let them sit at room temperature for about 15 minutes before enjoying. Avoid microwaving the cheesecake or any of its components, as this will make the texture soft and unappetizing. The toppings like whipped cream can be added fresh just before serving for the best taste.
Pro tip: To batch cook this Butterbeer Cheesecake for meal prep throughout the week, consider doubling the recipe on a Sunday and portioning it into individual containers for easy access. Family members can assemble their own servings by layering crust, cheesecake filling, and toppings as desired. For variety, swap out butterscotch sauce with caramel or chocolate sauce and use crushed Oreos instead of graham crackers for the crust. To keep the whipped cream at its best during storage, add it fresh each time you serve to ensure it remains fluffy and doesn’t lose its structure.
Conclusion

This Butterbeer cheesecake has become one of those recipes I make at least twice a month because it’s delightfully creamy, incredibly satisfying, and packs in 450 calories per serving without compromising on flavor. The addition of rich butterscotch sauce in the filling truly sets it apart from traditional cheesecakes, creating a unique dessert experience that everyone loves. Give this one a try this week. I promise it’ll become a regular rotation treat in your house too.
Butterbeer Cheesecake
Ingredients
Method
- Preheat the oven to 350°F (175°C). In a mixing bowl, combine graham cracker crumbs, granulated sugar, and melted butter. Mix until well combined.
- Press the mixture firmly into the bottom of a 9-inch springform pan. Bake for 10 minutes, then remove from the oven and let cool.
- In a large mixing bowl, beat the softened cream cheese with an electric mixer until smooth.
- Add granulated sugar, brown sugar, butterscotch sauce, and vanilla extract. Mix until well combined.
- Add eggs one at a time, mixing well after each addition. Finally, mix in the heavy cream until smooth.
- Pour the filling over the cooled crust in the springform pan. Bake in the preheated oven for 50 minutes, or until the center is set but slightly jiggly.
- Turn off the oven and leave the cheesecake inside for 1 hour. Remove from the oven and let cool to room temperature.
- Refrigerate for at least 4 hours or overnight before serving.
- Top with whipped cream and drizzle with butterscotch sauce before serving.